Setting up TheIDE
on Linux and other POSIX systems
Introduction
This document assumes that you have installed U++ and TheIDE using your favorite package manager (packages are usually called "upp" and "theide"). See a Download page for detailed description of available packages. Alternatively, you can get TheIDE by downloading the source tarball and compiling it using the enclosed makefile. Once you have TheIDE executable available in your system, you are ready to configure it, which is exactly what the following text is about.
General notes
Nothing is written to the hard drive until "Finish" button is pressed. This can happen at any time, even the first screen. All the settings have safe initial value (recommended setting), so that finishing without setting everything will always result into working installation. For overview of the wizard functionality and the motivations behind it see its overview page.
This process takes place upon the first run of TheIDE, but can be invoked on request using command line parameter -install when starting TheIDE. It can be also invoked from running TheIDE using the item Source management.. in Setup menu.

|
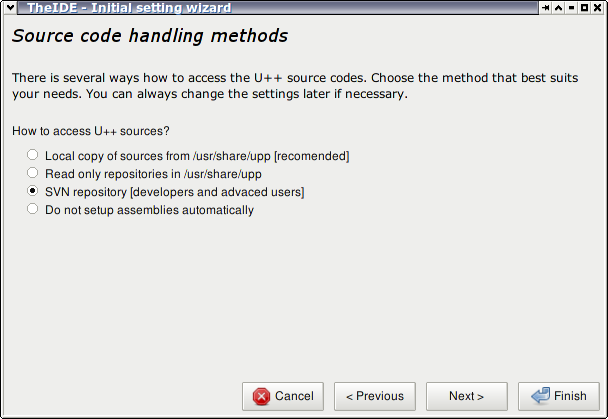
Upon the first run of your new TheIDE on your Linux machine, you will be presented with an "Initial setting wizard". This is a simple tool that will ask you a couple of questions and set up how your U++ sources should be handled by automatic update mechanism.
|

|
First you have to choose where should your sources come from. If you use one of the distributions that U++ has packages for, than you can select one of the first two options. The second, read only, option is however good only if you are sure you will not want to modify the U++ sources. The third option is designed to use SVN versioning system (more about that later) and the fourth is for advanced users who prefer to manage the sources manually.
|

|
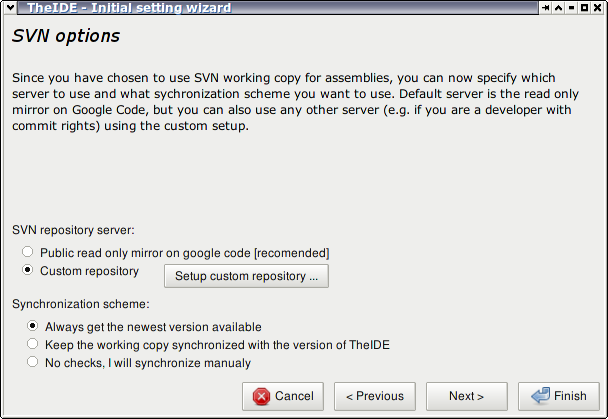
This step only appears if you have previously chosen SVN. You can use either the public mirror on google code, or setup all the information manually (intended mainly for U++ developers to use with head server).
You can also chose whether the automatic updater should offer you every new version available, or only those matching with your current TheIDE version (e.g. when you want to use only stable releases) or if you want to check only manually.
|

|
The final step allows you to set up your assemblies (unless you said you will do it manually at the first step). By default, the 6 basic assemblies will be offered (plus uppbox in case of SVN based installation). Any other assemblies that might already exist on your computer are detected and manageable as well. To save you some typing, two "variables" might be used to specify often appearing paths. Please note that the value of $(SRC) is also used to determine where the source files should be installed.
|
|
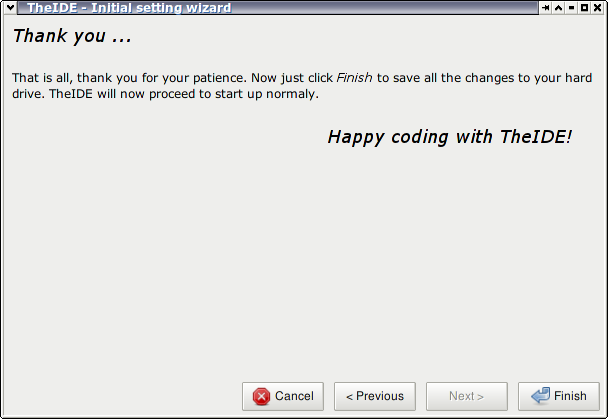
And that's it! It did not take too long, did it? After pressing finish, the sources will be copied/downloaded from SVN as necessary, assemblies will be set up and TheIDE will be started. No files will be deleted (with only exception of deleting assembly, which asks for confirmation) in the installation process, but if there are files with matching names (e.g. from older U++ installation), they will be overwritten.
|
|
Summary
Now, when you know how to set up everything, you can also have a look at article describing how does the automatic updates of U++ sources work.
|